


In my last post, we discussed how cypress can prove to be one of the promising tools to automate modern front-end applications fast and reliable.
I will continue on that line to cover how to get started with writing your first test in cypress and running it on their test runner service.
Getting Started
Cypress is a desktop application when you install it on your computer. Cypress currently supports:
- macOS with v10.9 and above (64-bit only)
- Linux Ubuntu v12.04 and above, Fedora v21 and Debian v8 (64-bit only)
- Windows 7 onwards
Installation
To keep it short, I am covering installation through Node.js npm or yarn. Assuming, you have installed Node.js on the local machine, follow the below steps
- Create a root directory where you would like to maintain your tests
- Initiate package.json under root using
npm init - Install cypress module using
npm install cypress --s-d
After that, you should see node_modules being added with cypress dependencies and other stuff.
Running up a pre-built suite
To run the pre-built test cases, launch cypress test runner using npx cypress open
You can also add an npm script to run the custom command like below
{
  "scripts": {
      "cypress:open": "cypress open"
    }
}
Now, you can type npm run cypress: open to start the test runner
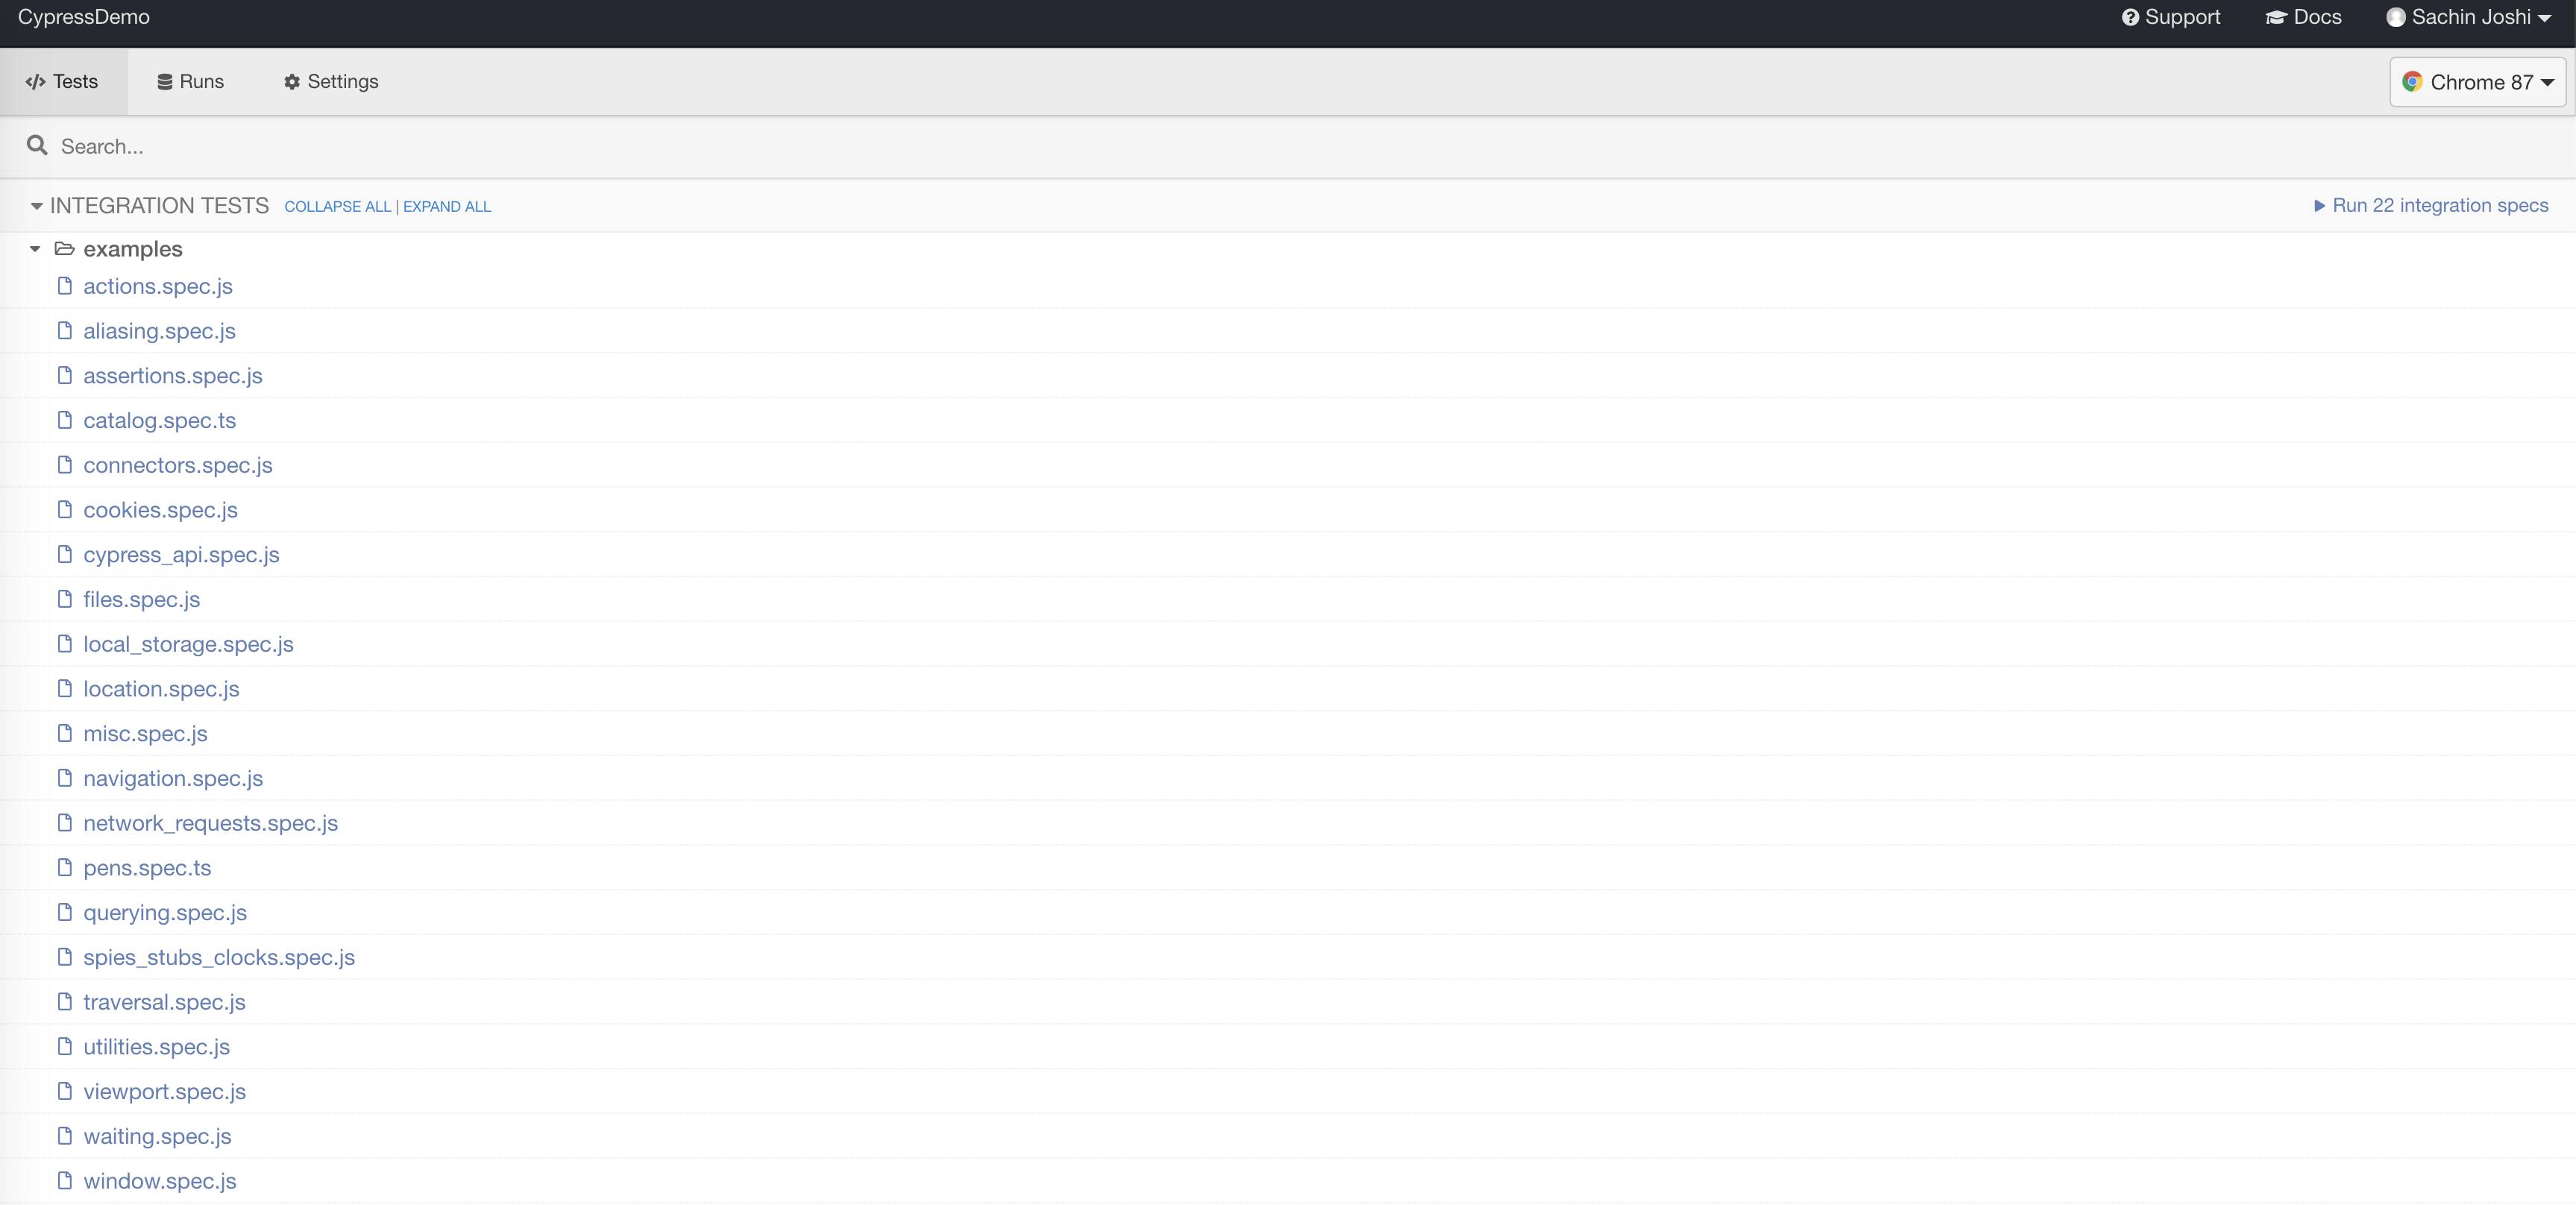
To run all test cases from the test runner, just click run all to see the tests in action.
Writing your own tests
To write or add new tests in cypress, we use the mocha style of writing tests.
Add googleSearch.spec.js into the
cypress/integrationfolder that was created earlier.Copy the below code into the
googleSearch.spec.jsand run it from the test runner
describe('Search Cypress on Google',()=>{
    it('Open google site',()=>{
        cy.visit('https://www.google.com/')
    })
    it('search cypress term in search bar',()=>{
        cy.get('[name="q"]').should('be.enabled').type('Cypress{enter}')
    })
    it('Check the results of search',()=>{
        cy.get('#search').should('be.visible')
        cy.get('#search').contains('Cypress').should('be.visible')
    })
})
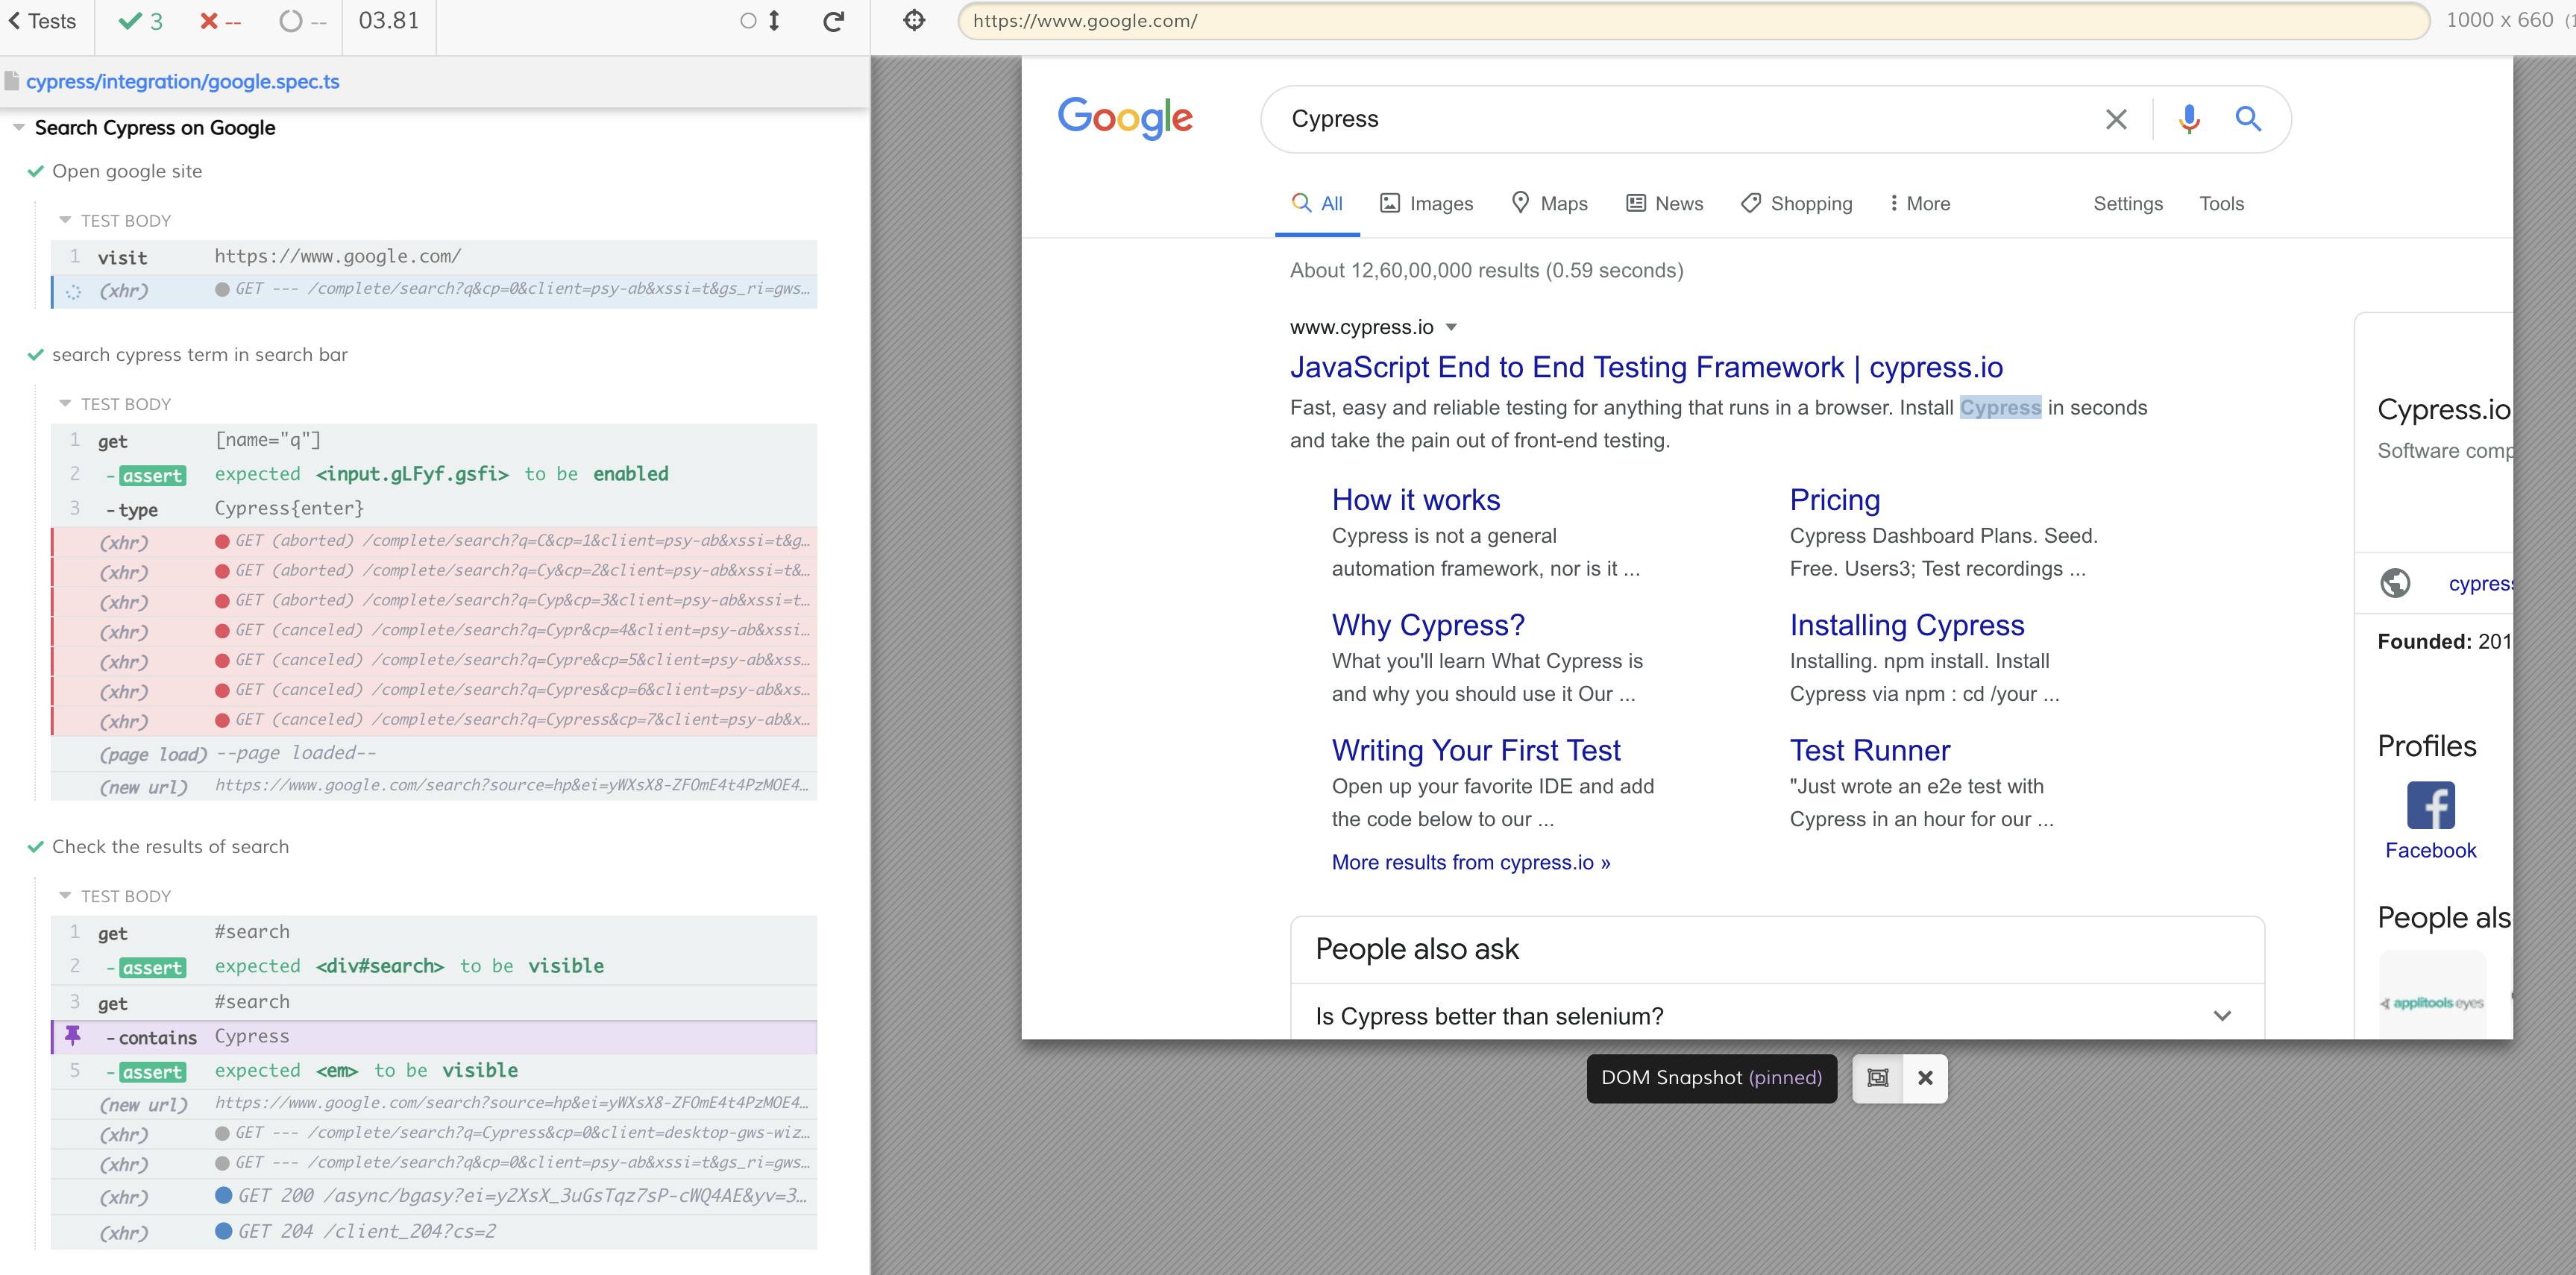
You will observe that as soon as you change and save anything on the script your test will run again.
Sample Run
Roads ahead...
 Photo by Tatiana from Pexels
In the next post, I will try to cover this topic in-depth in terms of the various API modules it has to offer and how we can set up our dashboard service to see the status of the test on CI setup.
Lastly, If you like the post please share your thoughts. I will be happy to connect. Good Bye 👋 !